How to Clone Your Voice with Play.ht (Step-by-Step Guide)

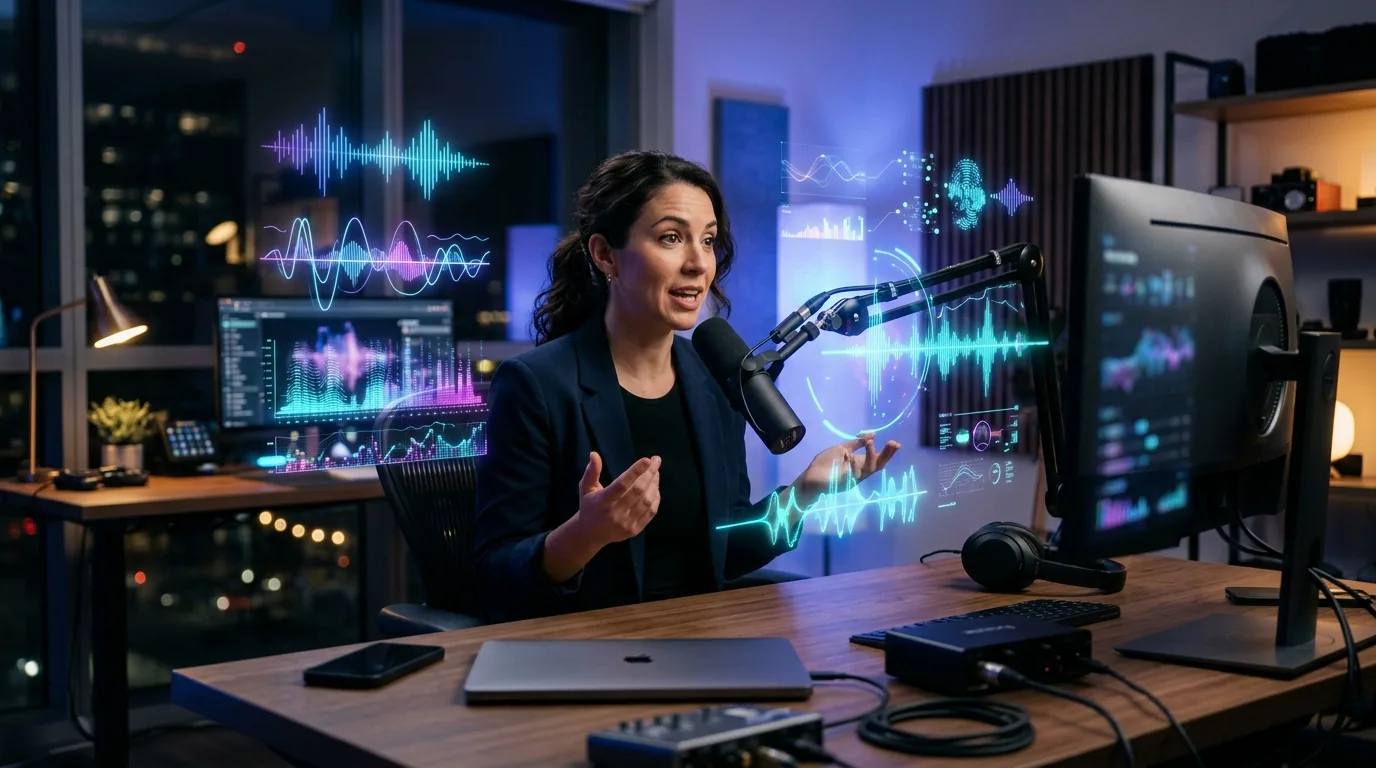
Person speaking into a microphone with AI voice waveform visualizations floating around them, demonstrating Play.ht voice cloning technology

Voice cloning used to be the kind of thing you’d see in a sci-fi movie — expensive, complicated, and slightly creepy. Now? You can do it in under five minutes with Play.ht, and the results are genuinely impressive.

I’ve been testing Play.ht’s voice cloning feature for weeks now (you can read my full Play.ht review here), and I wanted to put together a proper step-by-step guide. Because honestly, the process is simpler than most people expect — but there are a few things you need to get right.

What Is Voice Cloning with Play.ht?

Play.ht uses AI to create a digital replica of your voice. You upload a short audio sample, the AI analyzes your speech patterns, tone, and cadence — and then you can type any text and hear it spoken back in your voice.

It’s not perfect (we’ll get to that), but it’s shockingly close. Good enough for podcast intros, course narration, and internal content — maybe not for audiobooks. Yet.

If you haven’t already, check out Play.ht in our AI tools directory for a quick overview of what it does.

What You’ll Need Before You Start

Before you record anything, gather these:

  • A Play.ht account — the voice cloning feature is available on Pro and Enterprise plans
  • A quiet room — background noise is the #1 killer of clone quality
  • A decent microphone — your laptop mic will work, but a USB mic (even a $30 one) makes a real difference
  • 30-60 seconds of clean audio — more is better, but you don’t need a full monologue

That’s it. No fancy equipment. No audio engineering degree.

Step 1: Log Into Play.ht and Navigate to Voice Cloning

Sign into your Play.ht dashboard. From the left sidebar, click on “Voice Cloning” (it’s under the Voices section).

You’ll see an option to “Create a New Voice Clone.” Click it.

Play.ht will ask you to name your voice clone. Pick something descriptive — like “Jonas Narration” or “Podcast Voice” — because you might create multiple clones for different tones later.

Step 2: Record or Upload Your Voice Sample

This is the most important step. You have two options:

Option A: Record directly in the browser. Play.ht has a built-in recorder. Just hit the red button and start talking. Read something natural — a blog post, a news article, even your grocery list. The key is to speak normally.

Option B: Upload an existing audio file. If you already have a podcast episode, YouTube video, or any clean recording of your voice, upload it as a WAV or MP3 file.

Tips for the Best Voice Sample

  • Speak AI naturally.
  • Vary your tone. Read a mix of sentences — some questions, some statements, some with emphasis. This gives the AI more data to work with
  • Avoid background noise. Close the window. Turn off the fan. Put the dog in another room. Seriously
  • Aim for 30-60 seconds minimum. More audio = better clone. If you can do 2-3 minutes, even better

Step 3: Let the AI Process Your Voice

After uploading, Play.ht processes your audio sample. This typically takes 30 seconds to 2 minutes — depending on the length of your sample and server load.

You’ll see a progress indicator. Don’t refresh the page (I learned that the hard way).

Once it’s done, your clone appears in your voice library alongside Play.ht’s stock voices.

Step 4: Test Your Voice Clone

Now for the fun part. Type a sentence you’ve never said before into the text editor. Something like:

“Welcome to this week’s episode. Today we’re breaking down the five AI tools that actually saved me time this month.”

Hit Generate and listen.

The first time you hear your own AI voice say something you never recorded — it’s a weird experience. Good weird, but weird.

What to Listen For

  • Cadence: Does it sound like you, or like a robot wearing your voice as a costume?
  • Pronunciation: Are common words coming through clearly?
  • Emotion: Does it feel flat, or does it have some of your natural variation?

If anything sounds off, don’t panic — you can improve it.

Step 5: Fine-Tune and Improve Quality

Play.ht gives you a few levers to pull:

Upload more audio. The more data the AI has, the better it gets. If your first clone sounds a bit robotic, try adding another 2-3 minutes of speech.

Adjust the speed and pitch. Small tweaks can make a big difference. Your natural speaking pace might be faster than the default output — adjust until it feels right.

Use SSML tags for precise control. You can add pauses, emphasis, and pronunciation hints if the standard output isn’t nailing certain words.

Step 6: Use Your Clone in Projects

Once you’re happy with the clone, you can use it anywhere Play.ht’s text-to-speech works:

  • Blog-to-audio: Turn your written posts into listenable content — in your own voice
  • Podcast intros and outros: Record them once, generate variations forever
  • Course narration: Narrate entire modules without sitting in front of a mic for hours
  • Video voiceovers: Create consistent narration for YouTube or social media

The export options include MP3 and WAV. You can also embed an audio player directly on your website using Play.ht’s widget.

Common Issues (And How to Fix Them)

“My clone sounds robotic.” Upload more audio. The most common cause is too little training data. Aim for at least 2 minutes of varied speech.

“It doesn’t pronounce my name correctly.” Use the pronunciation guide or SSML phoneme tags. Play.ht lets you specify exactly how to say tricky words.

“The tone is too flat.” Try recording your sample with more emotional range — excited sentences, calm sentences, questions. The AI mirrors what you give it.

“Processing failed.” Check your audio quality. Background noise, clipping, or very low volume can cause processing errors. Re-record in a quieter space.

Is Play.ht Voice Cloning Worth It?

For content creators who produce a lot of audio-adjacent content — absolutely. The time savings are real. Instead of recording every podcast intro, narration, or audio version of a blog post, you type it and generate.

It’s not going to replace a human narrator for a 10-hour audiobook. But for everything else? It’s genuinely useful.

If you’re curious about how Play.ht stacks up against other voice tools, check out our AI tools directory — we’ve reviewed dozens of alternatives across every category.

Bottom Line

Voice cloning with Play.ht is easier than most people think. Record a clean sample, let the AI process it, test the output, and start using it. The whole setup takes less than 10 minutes.

The technology isn’t perfect yet — but it’s good enough for most content creation workflows. And it’s only getting better.

Play.ht Review 2026: Realistic AI Voices for Content Creators

Solopreneur at a modern desk with headphones and laptop showing audio waveforms, representing Play.ht AI text-to-speech voice generation

What Is Play.ht?

Play.ht is an AI-powered text-to-speech platform that converts written content into realistic audio. Blog posts become podcasts, product descriptions become voiceovers, and scripts become professional narration — all without booking a recording studio.

Founded in 2017, Play.ht has had almost a decade to refine its voice models. That runway shows. While newer competitors chase hype, Play.ht keeps shipping meaningful upgrades to voice quality, cloning accuracy, and developer tools.

The platform offers 900+ AI voices across 142 languages, instant voice cloning, a full studio editor, and a production-ready API. We have listed Play.ht in our AI tools directory since the early days — here is the full breakdown.

Play.ht Key Features

Play3.0 and PlayDialog Voice Models

Play.ht runs on Play3.0 and PlayDialog — their latest proprietary models. Play3.0 handles standard narration with near-human cadence. PlayDialog goes further — it generates conversational, emotionally aware speech that adjusts tone based on context. Sarcasm, excitement, hesitation — it picks up cues from the text itself.

You also get access to voices powered by ElevenLabs, OpenAI, and Amazon Polly through the same interface. One subscription, multiple model families. No platform lock-in.

Voice Cloning That Actually Works

Upload 30 seconds of clean audio for a basic clone. Provide 3+ minutes and you get high-fidelity results that genuinely sound like you — or whoever you are cloning (with permission, obviously).

I have tested this extensively. The clone handles blog narration, product demos, and instructional content well. Where it struggles: heavy emotional delivery and whispering. For 90% of content creator use cases, though, it is good enough to replace recording sessions entirely.

Real use cases:

  • Narrate your own blog posts without recording each one individually
  • Create a consistent brand voice across all video and audio content
  • Generate multilingual versions of content in your voice
  • Produce course material at scale without re-recording for every update

Studio Editor

The browser-based editor is clean and surprisingly deep. Paste text, pick a voice, generate. That is the baseline. The real value is in the granular controls:

  • Speed adjustment — word-level, not just global
  • Pronunciation overrides — critical for brand names, technical terms, and non-English words
  • Pause insertion — add natural breathing room between sections
  • Emphasis markers — stress specific words for impact
  • Multi-voice projects — assign different voices to different sections for Q&A formats, interviews, or podcast-style content

API for Developers and Automation

Play.ht offers a REST API that is production-grade. If you are building content workflows, apps, or automated pipelines — this is where Play.ht pulls ahead of most competitors. The documentation is thorough, rate limits are reasonable, and response times are fast enough for near-real-time use cases.

Solopreneurs building AI-powered content operations will find this especially useful. (If that describes you, browse our AI tools directory for more automation-friendly platforms.)

Embeddable Audio Widgets

Drop a Play.ht audio player onto any webpage and every blog post becomes an audio article. The widget is lightweight, mobile-friendly, and does not look like an afterthought bolted onto your site. For bloggers who want to offer an audio option without managing a podcast feed — this feature alone might justify the subscription.

Play.ht Pricing in 2026

The pricing is competitive but character-based — so costs scale with how much you produce:

Free tier: Limited characters per month, basic voices only, no voice cloning. Enough to test. Not enough to ship anything serious.

Creator (~$31/month billed annually): 200,000 characters/month, premium voices including Play3.0 and PlayDialog, basic voice cloning, commercial usage rights. This is the sweet spot for most solopreneurs. A typical 1,500-word blog post uses roughly 8,000-10,000 characters — so you are looking at ~20 narrated articles per month.

Business (~$99/month billed annually): 500,000+ characters, priority rendering, advanced voice cloning, team collaboration, higher API rate limits. Makes sense for agencies or content-heavy businesses.

Enterprise: Custom pricing, SLA, dedicated support. Only relevant if you are processing millions of characters monthly.

Bottom line on pricing: Per-character costs are lower than ElevenLabs at equivalent tiers. If volume matters to you — and for content creators, it usually does — Play.ht delivers more audio per dollar.

Play.ht vs the Competition

Play.ht vs ElevenLabs

ElevenLabs wins on raw emotional expressiveness — their voice models handle dramatic delivery, audiobooks, and character voices better. But Play.ht counters with more voices, better pricing at scale, a more polished editor, and multi-model access.

Pick ElevenLabs if voice quality is everything and budget is secondary. Pick Play.ht if you want the best all-around value for content creation.

Play.ht vs Murf AI

Murf AI targets enterprise video production — training videos, corporate explainers, onboarding content. Their team features are strong, but voice variety and API capabilities are narrower.

Pick Murf for team-based video narration. Pick Play.ht for solo content creation, blog audio, and API-driven workflows.

Play.ht vs Speechify

Speechify is a consumption tool — it reads content aloud to you. Play.ht is a creation tool — it generates audio content you publish. Completely different use cases. Want to listen to articles while jogging? Speechify. Want to turn your articles into audio for your audience? Play.ht.

What Play.ht Does Well

  • Voice variety — 900+ voices across 142 languages, plus access to third-party models
  • Voice cloning quality — usable output from just 30 seconds of audio
  • Studio editor — granular control without a steep learning curve
  • API — production-ready for developers and automation builders
  • Embed widget — instant blog-to-audio with minimal effort
  • Pricing — more characters per dollar than most competitors

Where Play.ht Falls Short

  • Emotional range — Play3.0 is good, but ElevenLabs still has the edge for dramatic, nuanced delivery
  • Clone accuracy on edge cases — whispering, singing, and heavy accents do not clone well yet
  • Free tier is too limited — you can barely test the platform before hitting the character cap
  • No real-time voice conversion — this is a generation tool, not a live voice changer

Who Should Use Play.ht?

Content creators and bloggers who want every post available as audio. The embed widget makes this nearly effortless.

Course creators and educators who need to produce hours of narration without recording every module manually. Update the script, regenerate the audio. Done.

Solopreneurs building products who need voiceover for demos, tutorials, and product tours without hiring voice talent. The API makes it automatable.

Podcasters who need AI-generated segments, intros, or filler content between episodes. Voice cloning keeps your show sounding consistent.

Agencies producing client content at scale — the Business plan collaboration features and volume limits make financial sense here.

Getting Started with Play.ht

  1. Sign up — the free tier requires no credit card. You are in within 30 seconds.
  2. Pick a voice — use the preview function extensively. Some voices sound great in 10-second clips but fall apart in long-form content.
  3. Test with a short paragraph — do not commit a 2,000-word article on your first try.
  4. Fine-tune — adjust pacing, fix pronunciation quirks, add natural pauses.
  5. Export or embed — download MP3/WAV or grab the embed code for your site.

Pro tip: If you are cloning your voice, record in a quiet room with a decent microphone. Background noise destroys clone quality. Three minutes of clean, varied speech gets you a usable clone — monotone reading does not.

The Verdict

Play.ht has quietly become one of the most well-rounded AI voice platforms available. It is not the absolute best at any single thing — ElevenLabs edges ahead on voice quality, Murf has better team workflows — but it is the best all-around package for solopreneurs and content creators who need professional audio without professional recording equipment.

900+ voices, solid voice cloning, a clean studio editor, production-ready API, and competitive pricing — it adds up to a genuine productivity multiplier. The embed widget alone can turn every post on your site into an audio article with minimal effort.

If you are creating content and have not explored AI voice generation yet — Play.ht is a smart place to start. Check out our Play.ht listing in the AI tools directory for a quick overview, or browse the full directory to compare it with alternatives.

Rating: 4.3/5 — Excellent all-rounder for AI text-to-speech. Voice quality keeps getting better, pricing is fair, the API is strong, and the platform just works.

Paperpal AI vs Grammarly vs QuillBot: Which AI Editor Actually Works for Research?

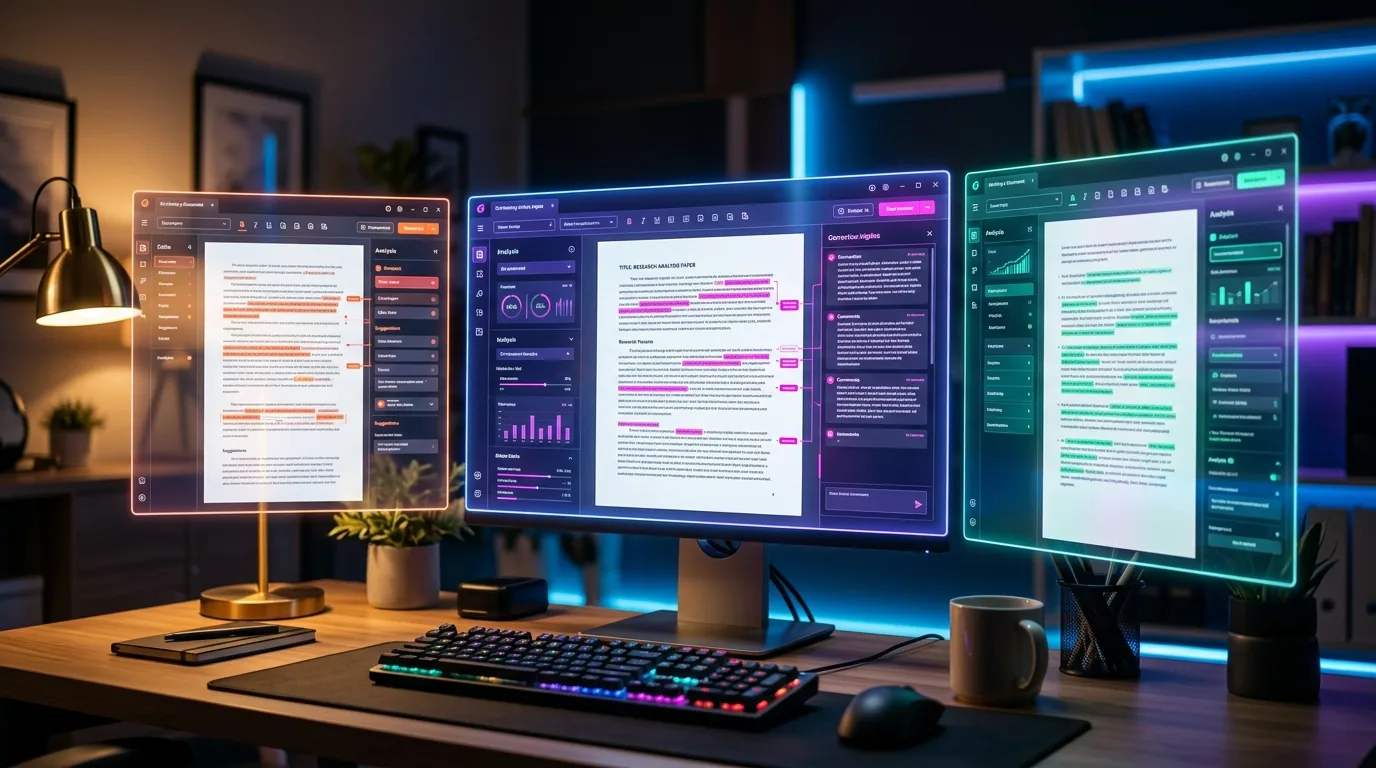
Side-by-side comparison of Paperpal AI, Grammarly, and QuillBot AI writing editors for academic research

Three AI editors. One research paper. I ran the same draft through Paperpal AI, Grammarly, and QuillBot to see which one actually helps when you’re writing for publication — not just fixing typos.

Here’s what happened.

The Test Setup

I took a real 3,000-word research draft — messy, first-draft quality, written by a non-native English speaker. The kind of paper that needs serious editing before it goes anywhere near a journal.

I ran it through all three tools and compared them on five dimensions:

  1. Grammar and language accuracy
  2. Academic tone and phrasing
  3. Consistency checking
  4. Rewriting quality
  5. Submission readiness

Let’s break it down.

Grammar and Language: All Three Are Solid

No surprises here. Grammarly caught the most grammar errors — 47 total. Paperpal found 39. QuillBot flagged 31.

But raw numbers are misleading. Grammarly’s extra flags included stylistic preferences that don’t apply to academic writing (like suggesting contractions or more “engaging” tone). In a research paper, that’s noise, not signal.

Paperpal’s grammar suggestions were the most relevant for the context. It understood that passive voice is sometimes appropriate in a methods section. Grammarly kept trying to “fix” perfectly valid academic constructions.

Winner: Paperpal (for academic writing) / Grammarly (for general writing)

Academic Tone and Phrasing

This is where the gap gets wide.

Paperpal suggested replacing “a lot of studies” with “a substantial body of literature” and “we found out that” with “our findings indicate that.” These aren’t just fancier words — they’re the language reviewers expect.

Grammarly Premium offered some tone adjustments, but they were generic. It doesn’t know the difference between a literature review and a blog post. Its suggestions made the paper sound more “readable” — which isn’t always what you want in academic writing.

QuillBot is primarily a paraphrasing tool. It can rephrase sentences, but it doesn’t understand academic conventions. It might turn a perfectly good hypothesis statement into something that reads like a news headline.

Winner: Paperpal — by a mile

Consistency Checking

Paperpal flagged 12 consistency issues — mixed abbreviations (WHO vs. W.H.O.), inconsistent capitalization of technical terms, and a figure reference that didn’t match the actual figure number. This alone saved me an embarrassing revision.

Grammarly caught some inconsistencies (3 total), mostly around spelling variations (analyze vs. analyse). Helpful, but surface-level.

QuillBot doesn’t do consistency checking at all. It processes text paragraph by paragraph, so it can’t see document-wide patterns.

Winner: Paperpal — the only tool that treats your document as a whole

Rewriting Quality

I picked five awkward sentences and asked each tool to rewrite them.

QuillBot actually shines here — it’s a dedicated paraphrasing engine with multiple modes (Fluency, Formal, Academic). The Academic mode produced clean, readable alternatives that kept the meaning intact. For pure sentence-level rewriting, it’s hard to beat.

Paperpal’s rewrites were more conservative but academically appropriate. It didn’t change the structure dramatically — it polished without transforming. For researchers who want their voice preserved, that’s ideal.

Grammarly’s rewriting suggestions were the weakest for academic content. They leaned toward conversational tone, which defeats the purpose.

Winner: QuillBot (for raw paraphrasing) / Paperpal (for academic-appropriate rewrites)

Submission Readiness

This category isn’t even a contest.

Paperpal is the only tool that checks whether your paper is ready for journal submission. It flagged a missing conflict-of-interest statement, an incomplete author contribution section, and two references that didn’t match the target journal’s citation format.

Grammarly and QuillBot don’t do this. They’re not built for it.

Winner: Paperpal — no competition

Pricing Comparison

Tool Free Plan Paid Plan Best For
Paperpal Basic checks ~$12/mo (annual) Academic writing
Grammarly Grammar + spelling ~$12/mo (annual) General writing
QuillBot Limited paraphrasing ~$10/mo (annual) Paraphrasing & rewording

All three are priced similarly. The question isn’t cost — it’s what kind of writing you’re doing.

The Verdict: Which One Should You Pick?

Choose Paperpal AI if you write research papers, theses, or manuscripts for journal submission. It’s the only tool that truly understands academic writing — from language to formatting to submission requirements.

Choose Grammarly if you need an all-purpose writing assistant for emails, reports, blog posts, and everything else. It’s the Swiss Army knife of writing tools — good at many things, specialized at none.

Choose QuillBot if you primarily need to rephrase and paraphrase. It’s the best pure rewriting tool of the three — especially the Academic mode. Great for non-native speakers working on sentence-level clarity.

The bottom line: For academic and research writing, Paperpal wins. It’s not even close. For everything else, Grammarly is still the default. And QuillBot is the budget-friendly paraphrasing specialist.

👉 Browse all three tools — and 160+ more — in our AI Tools directory.