How to Edit Product Photos with AI in Under 60 Seconds

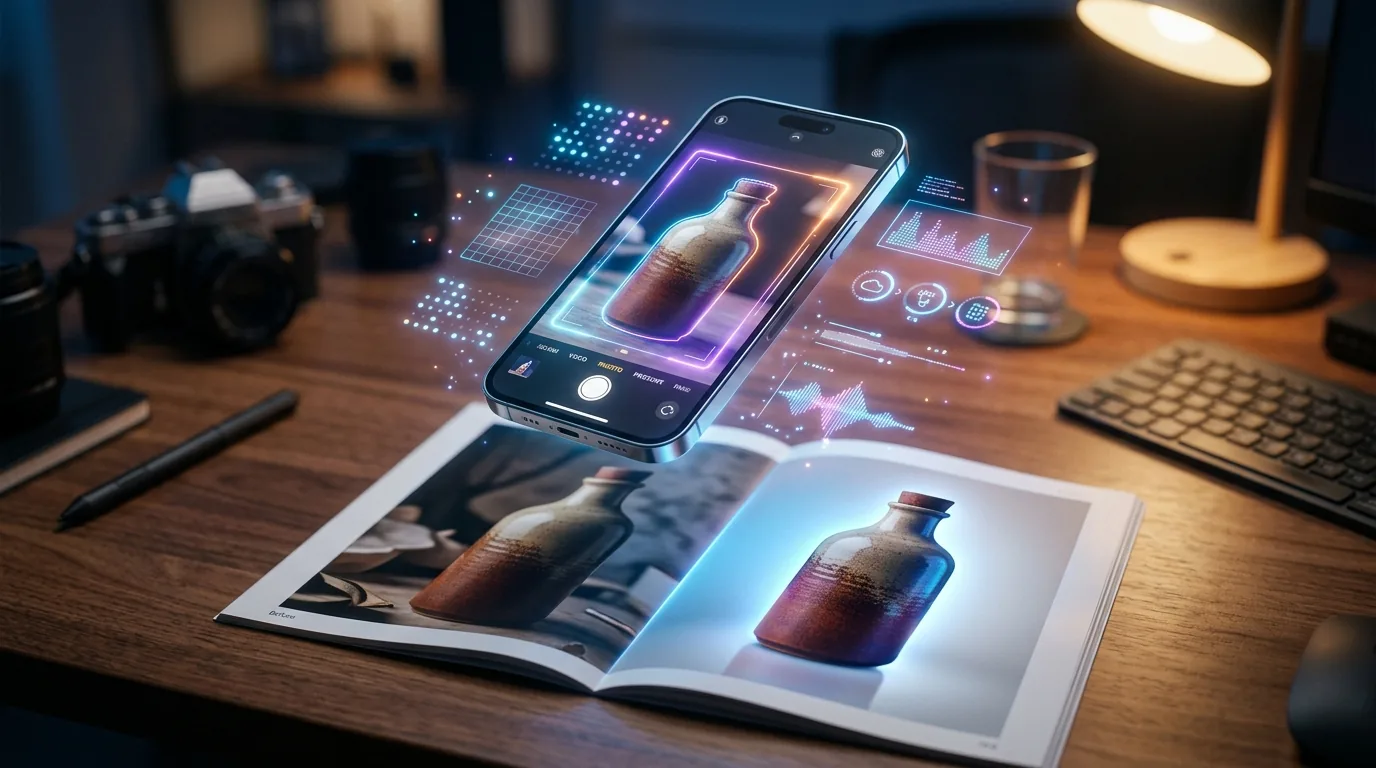
AI-powered product photo editing workflow showing background removal and lighting enhancement on a smartphone screen

Bad product photos kill sales. That’s not an opinion — it’s the single most consistent finding across every e-commerce conversion study ever published. And yet most solopreneurs and small business owners are still winging it with a smartphone and hoping for the best.

Here’s what changed: AI photo editing tools got absurdly good in 2026. We’re talking background removal in two seconds, lighting correction that actually understands product photography, and batch processing that handles your entire catalog while you grab a coffee.

I’m going to walk you through exactly how to turn rough product shots into professional-grade images — in under 60 seconds per photo. No Photoshop. No design skills. Just AI doing what it does best.

What You’ll Need

  • Your raw product photos (smartphone shots are fine — that’s the whole point)
  • One of the AI tools below (all have free tiers)
  • About 60 seconds per image

Step 1: Remove the Background (10 Seconds)

The fastest way to make a product photo look professional? Kill the background. No more kitchen counters, wrinkled bedsheets, or that random cable peeking into the frame.

Photoroom and remove.bg both handle this in literally one click. Upload your image, and the AI isolates your product with pixel-perfect accuracy — including tricky edges like hair, transparent objects, or thin straps that would take 15 minutes to mask manually.

Drop it on a clean white background for marketplace listings (Amazon, Etsy, Shopify all want this), or use one of the AI-generated lifestyle backgrounds for social media. The whole thing takes about 10 seconds.

Step 2: Fix the Lighting (15 Seconds)

This is where most DIY product photos fall apart. The lighting is either too harsh (hello, direct flash), too flat, or casting weird shadows that make your product look cheap.

Evoto and Luminar Neo both have AI lighting correction that’s specifically trained on product photography. It’s not just a brightness slider — the AI understands what studio lighting should look like and adjusts highlights, shadows, and color temperature accordingly.

Upload your background-removed image, hit auto-enhance, and watch the magic happen. The AI adds soft shadows under the product (so it doesn’t look like it’s floating), corrects white balance, and boosts detail where it matters. About 15 seconds including upload time.

Step 3: Resize and Optimize (10 Seconds)

Different platforms want different sizes. Amazon wants 1600×1600 minimum. Instagram wants square. Your website wants something that loads fast without looking blurry.

Canva’s AI resize handles this perfectly — and it’s free. Feed it your edited image, select your target platform, and it intelligently crops and scales without cutting off important parts of the product. It even adds appropriate padding.

For batch processing (if you’ve got 50+ products), Photoroom’s batch mode processes your entire folder at once. Same background removal + resize + export in the format you need. That’s where the real time savings hit.

Step 4: Generate Lifestyle Shots (25 Seconds)

This is the step that used to cost hundreds of dollars in studio fees. Now? AI generates it for you.

Take your clean, background-removed product image and drop it into Photoroom, Pebblely, or Flair AI. Describe the scene you want — “marble kitchen counter with morning sunlight” or “minimalist desk setup with plants” — and the AI generates a photorealistic background with your product seamlessly composited in.

The results are good enough that major brands are using this in production. For a small business, it’s a game-changer. You get lifestyle product photography that would’ve cost $500-2000 per shoot — for free.

The Full Workflow in 60 Seconds

Step Action Tool Time
1 Remove background Photoroom / remove.bg ~10s
2 Fix lighting & enhance Evoto / Luminar Neo ~15s
3 Resize for platform Canva AI ~10s
4 Generate lifestyle scene Photoroom / Pebblely ~25s

That’s the whole thing. Under a minute, and your product looks like it was shot by a professional photographer with studio lighting and a styled set.

Pro Tips for Better Results

Shoot on a solid, contrasting background. Even though AI can remove any background, it does a cleaner job when there’s clear contrast between the product and what’s behind it. A piece of white poster board works perfectly.

Use natural light when possible. AI can fix bad lighting, but it works better with decent starting material. Near a window on an overcast day is ideal — soft, even, no harsh shadows.

Take multiple angles. AI can enhance what’s there, but it can’t invent details it hasn’t seen. Shoot front, back, sides, detail close-ups, and any unique features.

Batch process everything. If you’ve got more than 5 images, don’t do them one at a time. Tools like Photoroom and Pixelcut let you process entire folders. Set it up once, walk away, come back to a finished catalog.

Which Tool Should You Actually Use?

If you want the simplest all-in-one solution: Photoroom. It handles background removal, lighting, backgrounds, and resizing in a single app. The free tier is generous enough for most small catalogs.

If you need the absolute best quality: combine remove.bg for backgrounds + Evoto for enhancement. Two tools, slightly more work, noticeably better results.

If you’re processing hundreds of images: Photoroom Batch or Pixelcut. They’re built for scale.

For a deeper look at all the AI photo editing options available right now, check out our full roundup of the best AI photo editing tools in 2026. And if you’re building out your full AI toolkit, browse our AI Tools Directory — we’ve tested 169+ tools across every category.
5 Best Free AI Face Swap Tools in 2026 (Safe & Actually Good)

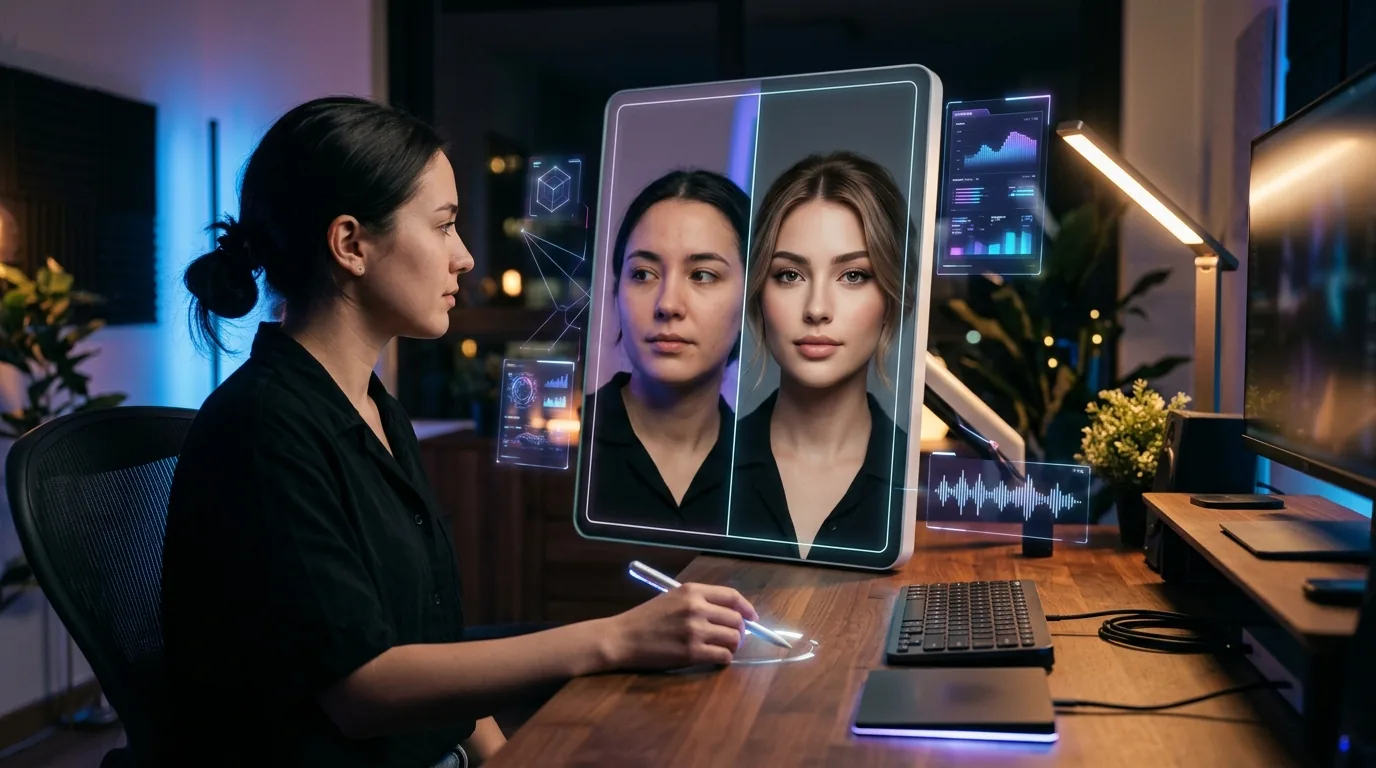
Side-by-side comparison of AI face swap technology showing seamless face transformation with realistic lighting and skin tone matching

Face swap AI used to mean one thing: creepy, uncanny results that looked like a bad Photoshop job. That’s not the case anymore.

The technology has gotten genuinely good — we’re talking seamless blending, accurate lighting matching, and results that look natural even at full resolution. The problem? Most free tools out there are either loaded with ads, shady with your data, or produce results that still look like 2019.

I tested over a dozen free AI face swap tools across different use cases — headshots, group photos, video clips — and narrowed it down to five that are actually worth your time in 2026. Every tool on this list is free to use (at least for basic needs), safe in terms of privacy, and produces results you won’t be embarrassed to share.

What Makes a Face Swap Tool “Actually Good”?

Before we dive in — here’s what I looked for. Because “free” means nothing if the tool doesn’t deliver.

  • Quality: Does it match skin tone, lighting, and angle? Or does the swapped face float on top like a sticker?
  • Speed: Nobody wants to wait 5 minutes for a single swap.
  • Safety: Does it have a clear privacy policy? Does it store your photos? Is it used for deepfakes?
  • Free tier: Genuinely free — not “free for one swap then $29/month.”

1. Reface — Best for Quick Video Face Swaps

Reface is the one most people already know — and for good reason. It’s fast, the results are surprisingly smooth, and the app handles video face swaps better than most paid tools.

Upload a selfie, pick a video template (or upload your own clip), and the AI maps your face onto the target in seconds. The lighting adaptation is where Reface really shines — it adjusts shadows and highlights so the swap doesn’t look pasted on.

Free tier: Limited daily swaps with watermark. Enough for casual use.
Best for: Fun video swaps, social media content, memes.
Privacy: Photos processed on-device (mobile app) with auto-deletion.

2. InsightFace (Open Source) — Best for Technical Users

If you’re comfortable running a Python script or using a Discord bot, InsightFace is the gold standard for free face swaps. It’s the engine behind many of the paid tools on the market — and it’s completely open source.

The quality is exceptional. Multi-face swaps, high-resolution output, and it handles tricky angles better than anything else I tested. The catch? There’s no polished UI. You’re either running it locally, using the Discord bot, or integrating it into your own workflow.

Free tier: Completely free (open source). Discord bot has daily limits.
Best for: Developers, content creators who need batch processing, anyone who wants maximum quality.
Privacy: Run it locally and your data never leaves your machine. That’s as private as it gets.

3. Pixverse — Best Browser-Based Option

Pixverse surprised me. It’s a browser-based tool that handles face swaps with no download required — and the quality is legitimately good. Not “good for a browser tool” — just good.

Upload two photos, select faces, hit swap. The AI handles skin tone matching and even gets hair boundaries right most of the time — which is where a lot of tools fall apart. Processing takes about 10-15 seconds per image.

Free tier: Several free swaps per day, no watermark on images.
Best for: Quick photo swaps without installing anything.
Privacy: Images are deleted after processing (per their policy). No account required for basic use.

4. FaceFusion — Best for Video Projects

FaceFusion is another open-source powerhouse — but this one’s built specifically for video. If you need to swap faces in longer clips (not just 10-second memes), this is what you want.

It runs locally, supports multiple backends (CPU and GPU), and produces frame-by-frame consistency that most cloud tools can’t match. The latest version added face enhancement and a simple web UI, so you don’t need to live in the terminal anymore.

Free tier: Completely free and open source.
Best for: Video creators, filmmakers, anyone doing face replacement in moving footage.
Privacy: 100% local processing. Nothing is uploaded anywhere.

5. Pica AI — Best for Beginners

If you want something that just works without any learning curve, Pica AI is it. The interface is dead simple — upload, swap, download. No options to configure, no settings to tweak.

The quality is solid for photos (video support is limited on the free plan). What I like most is the realistic blending — it handles different skin tones and lighting conditions gracefully, which many free tools struggle with.

Free tier: A few free swaps per day. No watermark.
Best for: Non-technical users who want quick, clean results.
Privacy: Cloud-processed with stated 24-hour deletion policy.

Quick Comparison: Which Should You Pick?

Tool Best For Photo/Video Runs Locally? Free Limit
Reface Quick video swaps Both Mobile app Limited daily
InsightFace Max quality Both Yes Unlimited
Pixverse No-install browser use Photo No Several/day
FaceFusion Video projects Video-focused Yes Unlimited
Pica AI Beginners Photo No A few/day

A Word on Safety and Ethics

Let’s be real — face swap technology can be misused. Every tool on this list has policies against creating non-consensual content, and the open-source options have ethical use guidelines baked into their documentation.

Use these tools responsibly. Swap your own face, create content with permission, and don’t be that person. The technology is incredible when used right — for creative projects, content creation, entertainment, and legitimate business use like product visualization.

Bottom Line

You don’t need to pay for a face swap AI tool in 2026 — the free options are genuinely that good. If you want maximum quality and don’t mind a small learning curve, go with InsightFace or FaceFusion. If you want something instant, Reface (for video) or Pica AI (for photos) are your best bets.

Want to explore more AI tools that actually deliver? Check out our AI Tools Directory — we’ve tested and categorized 169+ tools so you don’t have to wade through the noise. And if you’re into AI-powered image editing beyond face swaps, don’t miss our guide to the best AI photo editing tools in 2026.

AI Image to Video: Free vs Paid Tools Compared (2026 Edition)

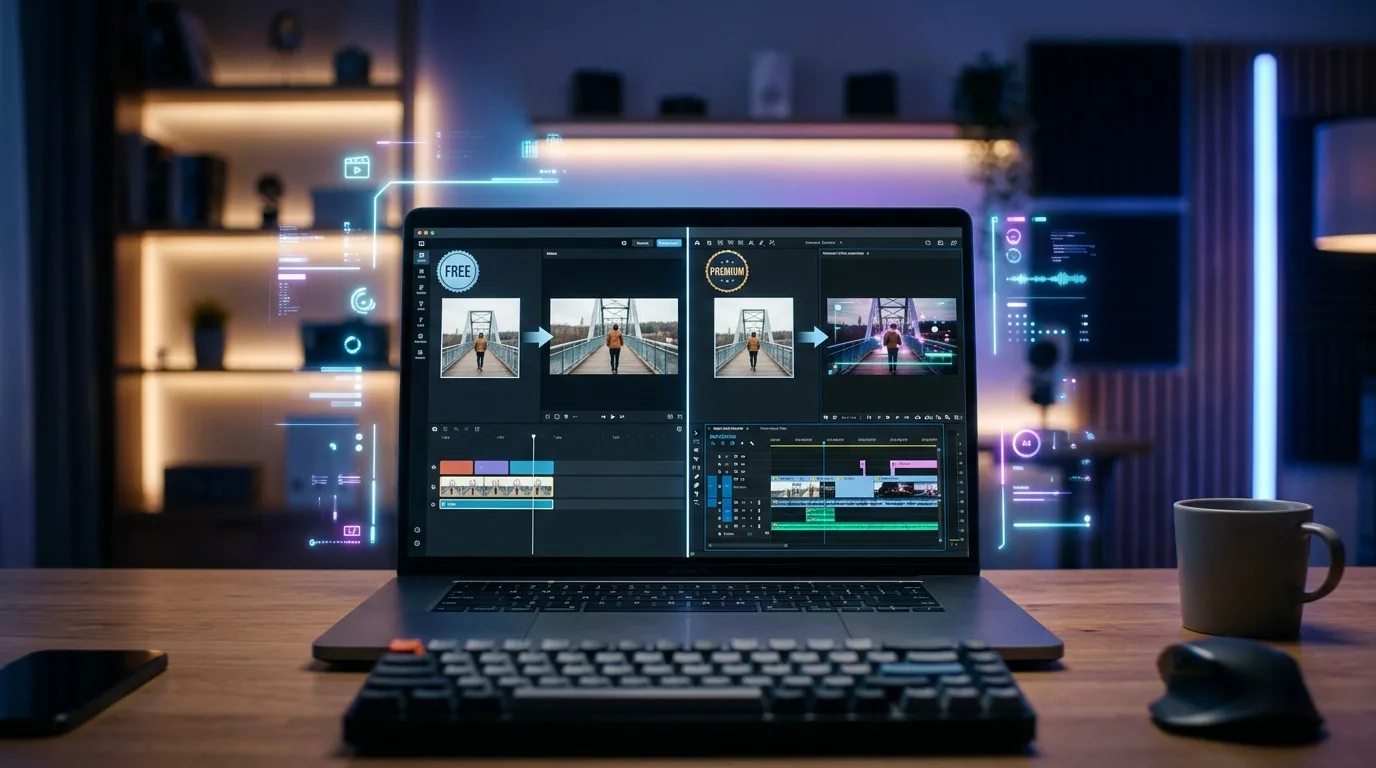
Split-screen comparison of free and paid AI image-to-video tools showing different editing interfaces and quality levels

Free AI image-to-video tools have gotten ridiculously good in 2026. But here’s the thing — “good enough” depends entirely on what you’re doing with them.

If you’re a solopreneur cranking out social media content, free tools might be all you need. If you’re producing client work or running ads, the paid tiers could save you hours of frustration. We tested the most popular options side by side to find out exactly where that line is.

This is the companion piece to our 7 Best Free AI Image-to-Video Tools roundup. That one ranks the free options — this one shows you when it’s worth paying.

What We Actually Tested

We took the same source image — a product flat-lay on a white background — and ran it through both the free and paid tiers of six major platforms. We looked at three things that actually matter for business use:

  • Output quality — resolution, motion smoothness, artifact count
  • Control — can you direct the motion, set duration, choose aspect ratio?
  • Speed and limits — how many clips per day, how long do you wait?

The Quick Verdict: Free vs Paid at a Glance

Feature Free Tier (Typical) Paid Tier (Typical)
Resolution 720p–1080p 1080p–4K
Clip length 2–4 seconds 5–15 seconds
Daily generations 3–10 50–unlimited
Watermark Usually yes No
Motion control Basic or none Camera paths, keyframes
Commercial license Varies (check TOS) Almost always included

Where Free Tools Actually Win

Let’s be honest — free tiers have gotten surprisingly capable. Here’s where they genuinely hold their own:

Social Media Content

If you’re making short clips for Instagram Reels, TikTok, or Twitter/X, the 2–4 second limit on free tiers isn’t a dealbreaker. It’s actually the sweet spot for attention-grabbing content. Tools like RenderLion and VideoGen both produce clean, share-ready clips on their free plans.

Blog and Website Headers

A subtle animation on a hero image? Free tools nail this. The motion doesn’t need to be complex — a gentle zoom or parallax effect is enough. We found that even the most basic free generators produce results that look polished in an embedded web player.

Prototyping and Testing Ideas

Before you commit 0–50/month to a paid plan, free tiers let you test whether AI-generated video actually works for your content strategy. Smart move: use free tools to validate the concept, then upgrade only when you’ve proven the ROI.

Where Paid Tools Pull Ahead

Here’s where the money starts making sense:

Client-Facing Work

Watermarks are a non-starter for professional deliverables. Beyond that, paid tiers from tools like Synthesia and HeyGen give you much finer control over motion, transitions, and output format. When a client is paying you, the 0/month for a pro plan pays for itself on the first project.

Ad Creative at Scale

Running A/B tests on video ads? You need volume. Free tiers cap you at a handful of generations per day — nowhere near enough for serious ad testing. Creatify and Quickads AI both offer batch generation on paid plans that make rapid creative iteration actually feasible.

Longer-Form Content

Product demos, explainer clips, YouTube intros — anything over 5 seconds needs a paid plan. The quality gap widens significantly with duration. Free generators tend to produce artifacts and motion drift in longer clips, while paid models maintain coherence throughout.

Brand Consistency

Paid tools often include style presets, custom aspect ratios, and the ability to match your brand’s visual language. If you’re producing content regularly, this consistency compounds — your audience starts recognizing your look, which is harder to achieve with free tools’ limited customization.

Tool-by-Tool Breakdown

Here’s how specific platforms stack up across their free and paid offerings:

InVideo AI — The free tier gives you surprisingly good text-to-video with auto-editing. The paid tier (5/month) removes watermarks, adds 1080p export, and unlocks premium stock footage. Best for: content creators who want a full editing suite, not just image-to-video.

Zebracat — Free plan includes basic image-to-video with 720p output. The Pro plan adds 4K, longer clips, and batch processing. Best for: e-commerce brands that need product videos at scale.

Hypernatural — Generous free tier with decent quality. Paid plans add priority rendering and advanced motion controls. Best for: solopreneurs testing the waters before committing.

Katalist AI — Free plan is limited but functional for storyboarding. Paid unlocks full video generation with scene control. Best for: creative professionals who need shot-by-shot planning.

Akool — Free tier covers basic transformations. Paid plans add face swap, avatar creation, and commercial licensing. Best for: marketers who need personalized video content.

Descript — Not a pure image-to-video tool, but its AI editing features blur the line. Free plan is limited; the 4/month plan is where it gets powerful. Best for: podcasters and video editors who want AI assist, not full AI generation.

The Decision Framework

Skip the paid tier if:

  • You’re making content for your own social feeds
  • Clips under 4 seconds work for your use case
  • You’re still figuring out if AI video fits your workflow
  • Watermarks don’t bother you (or your audience)

Upgrade to paid if:

  • You’re producing for clients or running ads
  • You need 5+ second clips with consistent quality
  • Volume matters — you’re generating 10+ videos per week
  • Brand consistency and commercial licensing are non-negotiable

Our Recommendation

Start free, upgrade intentionally. Every tool on this list offers a free tier worth trying. Use it until you hit a specific wall — watermarks killing your conversions, clip length limiting your ideas, generation caps slowing your output. That wall is your signal to upgrade, and it’s different for everyone.

If you want to explore all your options, browse our complete AI tools directory — we’ve tested and listed over 169 tools across every category, including the best free AI image-to-video generators.

The gap between free and paid AI video tools is shrinking fast. What cost $50/month a year ago is free today. But for now, the paid tiers still earn their keep when quality, control, and volume actually matter for your bottom line.