
ChatGPT agents are one of the most powerful features OpenAI has rolled out — and you don’t need to write a single line of code to build one.

I built my first agent in about 20 minutes. It now handles research tasks that used to eat up half my morning. And the whole process was shockingly simple.
If you’ve been curious about ChatGPT agents but assumed they’re only for developers — this guide is for you. I’ll walk you through building your first one, step by step.
What Exactly Is a ChatGPT Agent?
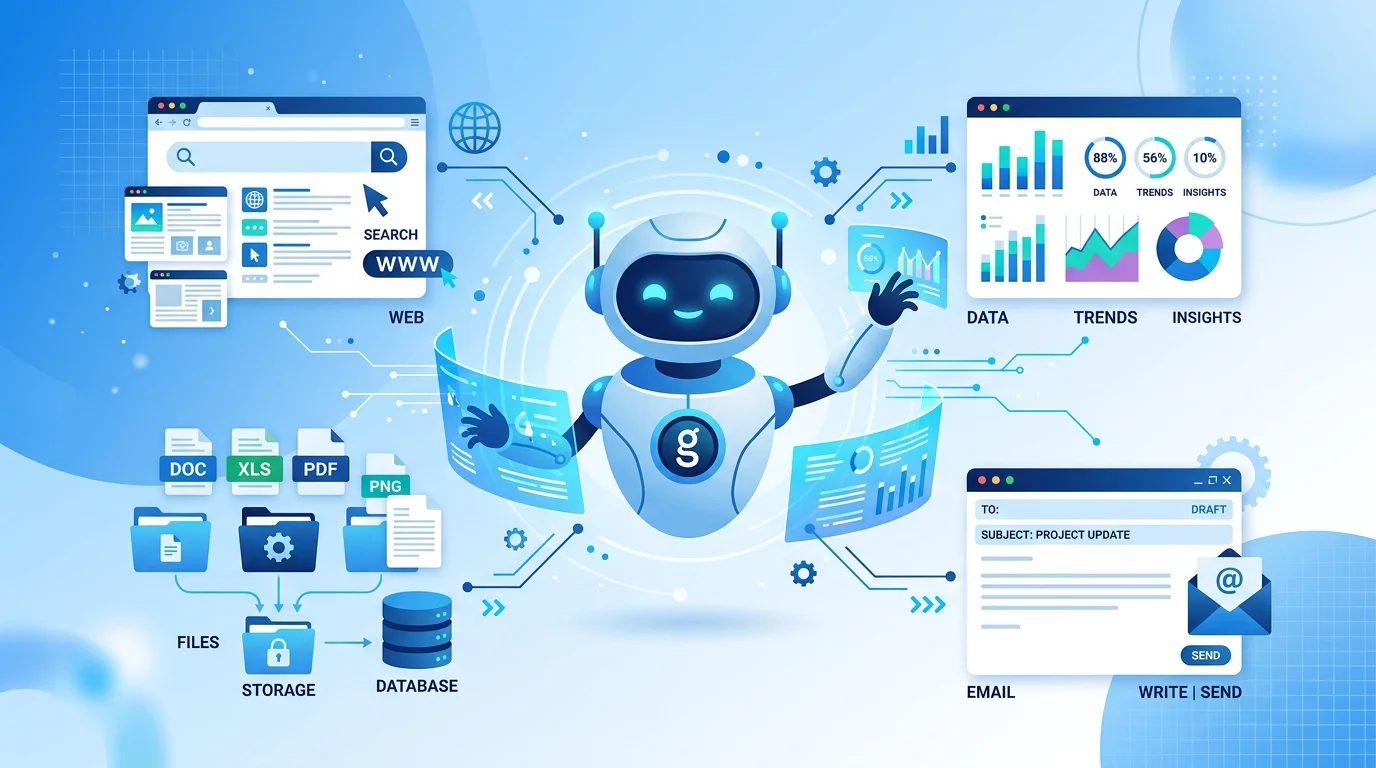
Quick refresher: a ChatGPT agent is an AI that can take actions on its own. It doesn’t just answer questions — it browses the web, runs code, reads files, and chains multiple steps together to complete a task.
Think of it as the difference between asking someone a question and actually hiring them to do the work.
If you want the full breakdown of what agents are and why they matter, check out our ChatGPT Agents Explainer. This post is all about the how.
What You’ll Need Before You Start
Not much, honestly:
- A ChatGPT Plus, Team, or Enterprise subscription — agents aren’t available on the free plan (yet)
- A clear task in mind — something repetitive that you’d love to hand off
- About 20-30 minutes — your first agent won’t be perfect, but it’ll be functional
That’s it. No API keys, no coding environment, no technical setup.
Step 1: Pick the Right Task
This is where most people mess up. They try to build an agent that does everything — and end up with something that does nothing well.
Good first agent tasks:
- Researching competitors and summarizing findings
- Analyzing a spreadsheet and pulling out key insights
- Drafting email responses based on specific criteria
- Monitoring a topic and creating daily briefings
- Reformatting data from one structure to another
Bad first agent tasks:
- Anything requiring real-time access to private systems
- Tasks that need perfect accuracy every single time (agents can hallucinate)
- Multi-day projects with dozens of moving parts
Start small. One task, one clear outcome. You can always expand later.
Step 2: Open ChatGPT and Start a New Agent
Here’s the actual process:
- Go to ChatGPT and click the “Explore” or “Agents” option in the sidebar
- Click “Create” to start a new agent
- You’ll see two tabs: Create (guided) and Configure (manual). Start with Configure — it gives you more control
The Configure tab is where the magic happens. You’ll set up four things: name, instructions, conversation starters, and capabilities.
Step 3: Write Clear Instructions
This is the most important step. Your agent’s instructions are its playbook — the better they are, the better it performs.
Here’s a template that works well:
Role: You are a [specific role] that helps me [specific outcome].
Process: When I give you [input type], you should [step 1], then [step 2], then [step 3].
Output format: Always deliver results as [format — bullet points, table, email draft, etc.].
Rules: [Any constraints — word count limits, tone requirements, things to avoid].
Real example — here’s what I used for a competitor research agent:
“You are a competitive intelligence analyst. When I give you a company name, browse their website, check their recent blog posts and social media, and deliver a briefing that includes: what they’re selling, their pricing model, their content strategy, and 3 things they’re doing better than me. Keep it under 500 words. Be direct — no fluff.”
Notice how specific that is? Vague instructions = vague results. Tell the agent exactly what you want.
Step 4: Enable the Right Capabilities
ChatGPT agents can use several built-in tools:
- Web browsing — lets the agent search the internet and visit URLs
- Code interpreter — runs Python code for data analysis, charts, file processing
- File search — reads through uploaded documents
- Image generation — creates visuals with DALL-E
For most business tasks, you’ll want web browsing and code interpreter enabled. Only turn on what you actually need — extra capabilities can sometimes distract the agent.
Step 5: Add Knowledge Files (Optional but Powerful)
This is the secret weapon most people skip.
You can upload files that your agent uses as reference material — your brand guidelines, product catalog, pricing sheet, previous reports, whatever’s relevant.
The agent will search through these files when completing tasks, which means it gives answers grounded in your actual business data instead of generic internet knowledge.
Pro tip: Upload your best previous work as examples. If you want the agent to write emails like you do, give it 10 emails you’ve already written. Pattern matching is what these models do best.
Step 6: Test and Iterate
Here’s the reality — your first version won’t be perfect. That’s fine. The iteration process is fast:
- Run your agent with a real task
- Note what it gets wrong or could do better
- Go back to Configure and tighten the instructions
- Test again
Usually takes 2-3 rounds before you’ve got something solid. Each round only takes a few minutes.
Common fixes:
- Output too long? Add a word limit to your instructions
- Missing context? Upload more reference files
- Wrong format? Be more explicit about the output structure
- Too generic? Add specific examples of what “good” looks like
Step 7: Save and Share
Once you’re happy with your agent:
- Save it as private if it’s just for you
- Share with your team if you’re on a Team or Enterprise plan
- Publish to the GPT Store if you think others would find it useful
Your agent now lives in your sidebar, ready to use whenever you need it.
3 Agent Ideas to Get You Started
Need inspiration? Here are three agents I use regularly as a solopreneur:
1. The Meeting Prep Agent
Upload your calendar notes and company info before a call. The agent researches the person/company, summarizes their recent activity, and gives you 5 talking points. Saves me 15 minutes per meeting.
2. The Content Brief Agent
Give it a keyword, and it researches the top-ranking pages, identifies content gaps, and drafts a structured brief with suggested headings, word count targets, and angle recommendations.
3. The Invoice Processor
Upload a batch of invoices (PDF AI or image). The agent extracts vendor names, amounts, dates, and categories — then exports everything as a clean spreadsheet. What used to take an hour now takes 2 minutes.
If you’re looking for more AI tools that can automate your workflow, browse our AI tools directory — we’ve reviewed over 160 tools across every category.
Common Mistakes to Avoid
Don‗t make your instructions too vague. “Help me with marketing” will get you garbage. “Analyze this landing page and suggest 5 specific copy improvements based on conversion best practices” will get you gold.
Don‗t skip the testing phase. Your first draft of instructions is a hypothesis, not a finished product.
Don‗t expect perfection. Agents are assistants, not replacements. Review their output before acting on it — especially for anything client-facing or financial.
Don‗t overload a single agent. If you need help with research and email writing and data analysis — build three agents, not one. Specialized agents outperform generalist ones every time.
What’s Next?
Once you’ve built your first agent and seen what’s possible, you’ll start seeing agent opportunities everywhere. That spreadsheet you manually update every week? Agent. Those customer inquiry responses you copy-paste? Agent. That competitor monitoring you keep forgetting to do? Agent.
The key is starting with one. Get it working. Then build the next one.
For more on how ChatGPT agents work under the hood — including the difference between agents and custom GPTs — read our full ChatGPT Agents Explained guide.
And if you want to explore AI tools that handle specific business tasks out of the box (no agent-building required), check out tools like Fireflies AI for meeting transcription, Tidio for customer support automation, or Dante AI for building custom AI chatbots.