

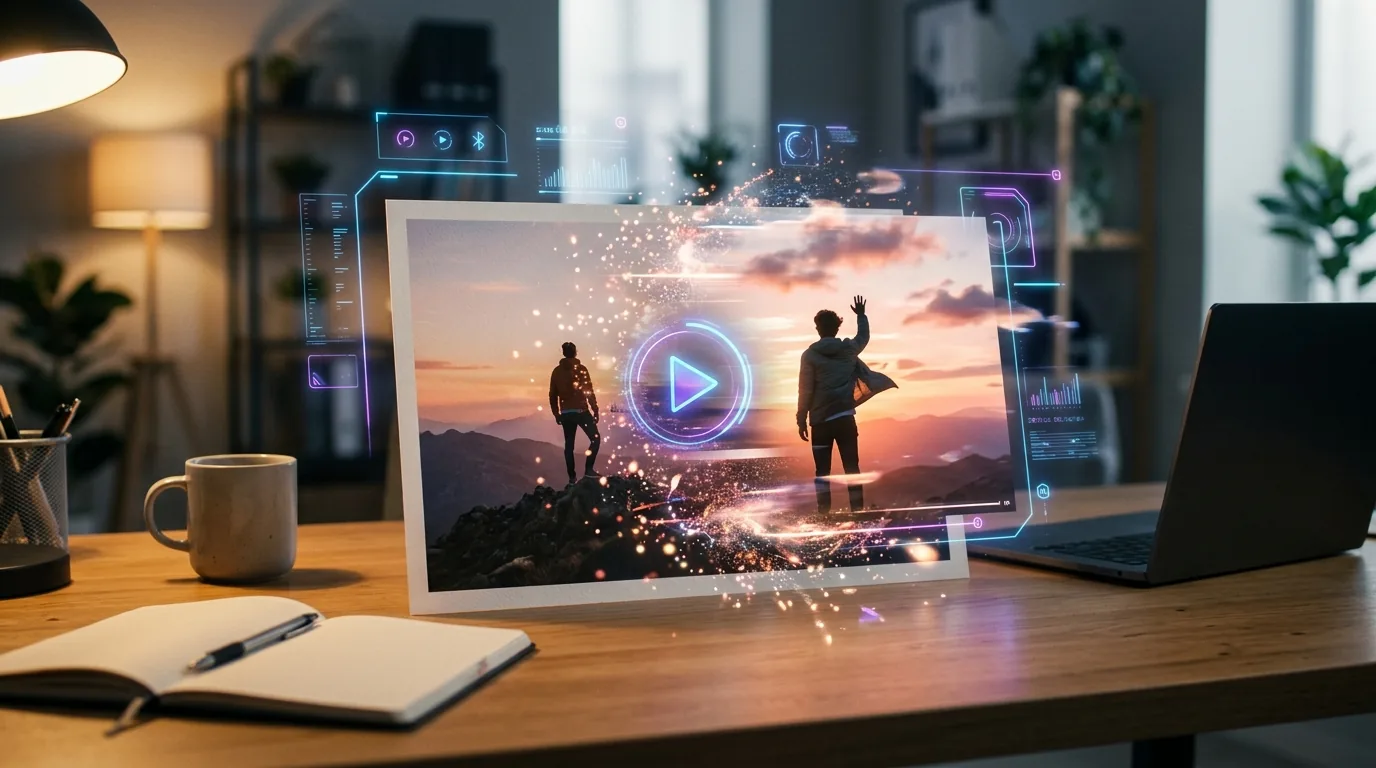
From Static Image to Polished Video in Under 10 Minutes
I turned a single product photo into a 30-second promo video last week. No editing software. No video skills. No budget. Just a free AI tool and about 7 minutes of my time.
Here’s the exact process — step by step — so you can do the same thing today.
What You’ll Need Before Starting
Minimal setup. Seriously:
- One image — a product photo, illustration, screenshot, or even an AI-generated image. JPG, PNG, or WebP all work.
- A free account on one of the tools below (no credit card needed).
- A rough idea of what you want the video to show — camera movement, mood, action.
That’s it. If you already have an image ready, you can follow along right now.
Step 1: Choose Your Free AI Image-to-Video Tool
Not all tools are equal. I’ve tested the major options (see our full comparison of free AI image-to-video tools), and here’s what I recommend for this tutorial:
Best for beginners: Kling AI
Kling AI offers a generous free tier — 66 credits daily, which gets you several video generations. The interface is dead simple: upload image, describe what you want, hit generate. The output quality on the free plan is surprisingly good for social media and web use.
Best for quality: Hailuo AI (MiniMax)
Hailuo AI produces some of the most realistic motion I’ve seen from a free tool. The physics are better — fabric moves naturally, lighting shifts convincingly. Free users get a limited number of daily generations, but the quality-per-generation ratio is hard to beat.
Best for control: Runway Gen-3 (free trial)
Runway gives you the most precise control over camera movement and motion. The free trial includes limited credits, but it’s worth burning a few to see what’s possible. Once you understand the workflow, you can decide whether the paid plan makes sense for your volume.
For this tutorial, I’ll use Kling AI since it’s the most accessible. The process is nearly identical across all three tools.
Step 2: Upload Your Image and Write a Motion Prompt
This is where most people mess up. They upload an image and write something vague like “make it move.” That gets you garbage output.
Here’s how to write a prompt that actually works:
The formula
[Camera movement] + [subject action] + [atmosphere/mood]
Examples that produce great results
- Product photo: “Slow dolly zoom into the product, soft studio lighting shifts from cool to warm, shallow depth of field”
- Landscape image: “Gentle camera pan left to right, clouds drift slowly across the sky, golden hour lighting intensifies”
- Portrait/headshot: “Subtle camera push-in, subject blinks naturally, hair moves slightly as if from a gentle breeze”
- Food photo: “Steam rises from the dish, camera slowly orbits 45 degrees, background bokeh twinkles”
What to avoid in your prompt
- Don’t describe the image itself — the AI already sees it. Describe the motion you want.
- Don’t ask for too much action — these tools generate 3-5 second clips. One smooth motion looks professional. Three competing movements look chaotic.
- Don’t use abstract language — “make it cinematic” means nothing. “Slow push-in with rack focus” means everything.
Step 3: Generate and Evaluate
Hit generate. Wait 1-3 minutes (varies by tool and queue).
When your video comes back, evaluate it on three things:
- Does the motion look natural? Watch for warping, especially at edges and on faces.
- Does it match your intent? If you asked for a dolly zoom and got a random pan, refine your prompt.
- Is the quality sufficient? Free tiers usually output 720p. Fine for social media, might need an upgrade for website headers.
Pro tip: Generate 2-3 variations with slightly different prompts. AI video generation has randomness baked in — the second attempt might nail what the first one missed.
Step 4: Download and Optimize
Download your video (usually MP4). Before posting anywhere, do these quick optimizations:
For social media
- Trim the first/last half-second — AI video tools sometimes have a “settling in” frame at the start.
- Loop it — if the motion works as a loop, platforms like Instagram will auto-replay it, boosting engagement.
- Add text overlay — use your phone’s native editor or a free tool like CapCut. A simple title or CTA makes the video functional.
For your website
- Compress the file — use a free tool like HandBrake to reduce file size without visible quality loss. Web videos should be under 5MB.
- Convert to WebM — better browser compression than MP4. Most video compressors handle this.
- Add a poster frame — set a static image as the video thumbnail so your page loads fast.
Step 5: Level Up With Multiple Clips
One 3-5 second clip is useful. Three clips edited together is a professional-looking video.
Here’s the workflow for a 15-30 second promo:
- Shot 1: Wide establishing shot (slow zoom in on the product/scene)
- Shot 2: Detail shot (close-up with subtle motion)
- Shot 3: Hero shot (the money angle with the best lighting/motion)
Use the same source image or different angles. Stitch them together in CapCut (free), iMovie, or even Canva’s video editor. Add background music from a royalty-free library and you’ve got something that looks like it cost $500 to produce.
Real-World Use Cases (What I’ve Actually Made)
This isn’t theoretical. Here’s what I’ve used AI image-to-video tools for in the past month:
- Product teasers for social media — static product shots turned into 10-second looping videos. Engagement was 3x higher than the static image posts.
- Blog header videos — subtle motion on hero images makes pages feel more premium. Takes 5 minutes per post.
- Email campaign assets — GIF-style product animations embedded in emails. Click-through rates improved noticeably.
- Client presentations — instead of static mockups, animated concept videos. Clients love this.
When Free Tools Aren’t Enough
The free tiers work for most solopreneurs and small businesses. But here’s when you should consider paying:
- Volume — if you need more than 5-10 videos per day, free credits won’t cut it.
- Resolution — need 1080p or 4K output? That’s usually a paid feature.
- Longer clips — free tiers typically max out at 5 seconds. Paid plans offer 10-15 seconds per generation.
- No watermarks — some free tools add subtle branding. Paid removes it.
For a deeper dive into which paid plans are actually worth it, check out our best AI video generation tools comparison. And if you’re curious about how these tools compare to what was available just last year, our 2025 vs 2026 video tools comparison shows how dramatically the quality has improved.
Start With One Image Today
Seriously — grab any photo from your phone, sign up for Kling AI’s free tier, and follow steps 2-4 above. The whole process takes under 10 minutes, and you’ll immediately see whether AI video fits into your content workflow.
Once you’ve got the basics down, explore the full range of AI tools in our directory — there are tools for every step of the content creation process, from ideation to publishing.
The barrier to professional-looking video content just dropped to zero. The only question is whether you’ll take advantage of it.